Adding small gifts to Christmas Cards is a fun way to show your friends and family you're thinking of them. Crochet some quick and easy Snowflakes to gift this year using my tutorial.

If you're a long-time reader of my blog, you know I like to add a small handmade gift to the Christmas Cards I send. In the past I've added Fabric Star Hangers and Matchbox Needle Keeps but this year I decided to crochet a Snowflake.
This pattern makes the sweetest snowflakes, and you can use it as a tree ornament, an embellishment on Christmas projects or winter woolies, or string a few together and make a garland.

They're super simple, and you only need to know how to make a magic circle and basic crochet stitches to crochet your own. If you need some help with stitches, you can follow these tutorials:
I used Lionbrand's Feels Like Butter Yarn and a 3.75mm hook but use whatever you have in your yarn stash. This yarn/hook combination gave me a stable finish, but at the end of the post I'll share some ideas for stiffening your crochet for extra stability.
The finished size of your Snowflake will depend on yarn ply and hook size - mine finished at about 4".

Each Snowflake takes around 20 minutes to crochet and in the tutorial, I've added some tips I think might help you achieve the best result.
If you're new to crocheting I think you will enjoy this one - it's a fun way to practice basic stitches and crochet more than a granny square.
Ok, grab your yarn and hook and let's crochet!

Row 1:
Make a magic circle and into the circle work, CH6 (counts as your first DC + 3CH), *DC, 3CH*, work *to* four more times. Slip stitch into the 3rd chain from the beginning. Pull the magic circle tight.
(6 x DC and 6 x 3 CH spaces)
Tips: make sure your crocheting over both strands of the magic circle, and that your SS is in the 3rd chain to create the first DC + 3CH space.

Row 2:
Slip stich into the first 3CH space of Row 1, CH3 (counts as your first DC), 4DC, CH3, *5DC, CH3*, repeat from * to * into each 3CH space around. Slip stitch to the top of the first CH3.
(30 x DC and 6 x 3 CH spaces)
Tips: make sure you SS into that first 3CH space - it ensures your first DC is in the correct position.

Row 3:
*Slip stitch to the middle DC of Row 2 (this should be the third DC), CH3, slip stitch into same space. Slip stitch to the CH3 space of Row 2. Work CH3, slip stitch, CH5, slip stitch, CH7, slip stitch, CH5, slip stitch, CH3, slip stitch all in the same CH3 space*. Repeat from * to * around.
Tie off and weave in ends. Dampen and block your finished Snowflake.
Tips: you are making loops to form the snowflake - essentially making a length of chain and slip stitching it in place. It helps if you bunch them together as you work to help them fit them into the CH3 space. When travelling over the DC's with a SS, don't forget that first DC - adding a SS here helps hold everything in place.

And that's it! One sweet little Snowflake! Well done!
You can now add a hanger to your Snowflake, applique it to Christmas projects or string a few together to make a garland.
There are several ways to stiffen your crochet. My mum used a sugar and water combination, but you can also use starch or PVA glue and water. There's a great tutorial that explains each of the three options HERE.
You could also sew on some crystal beads or if you're using one of the stiffening methods you could add some glitter to the mix to make your snowflakes sparkle!
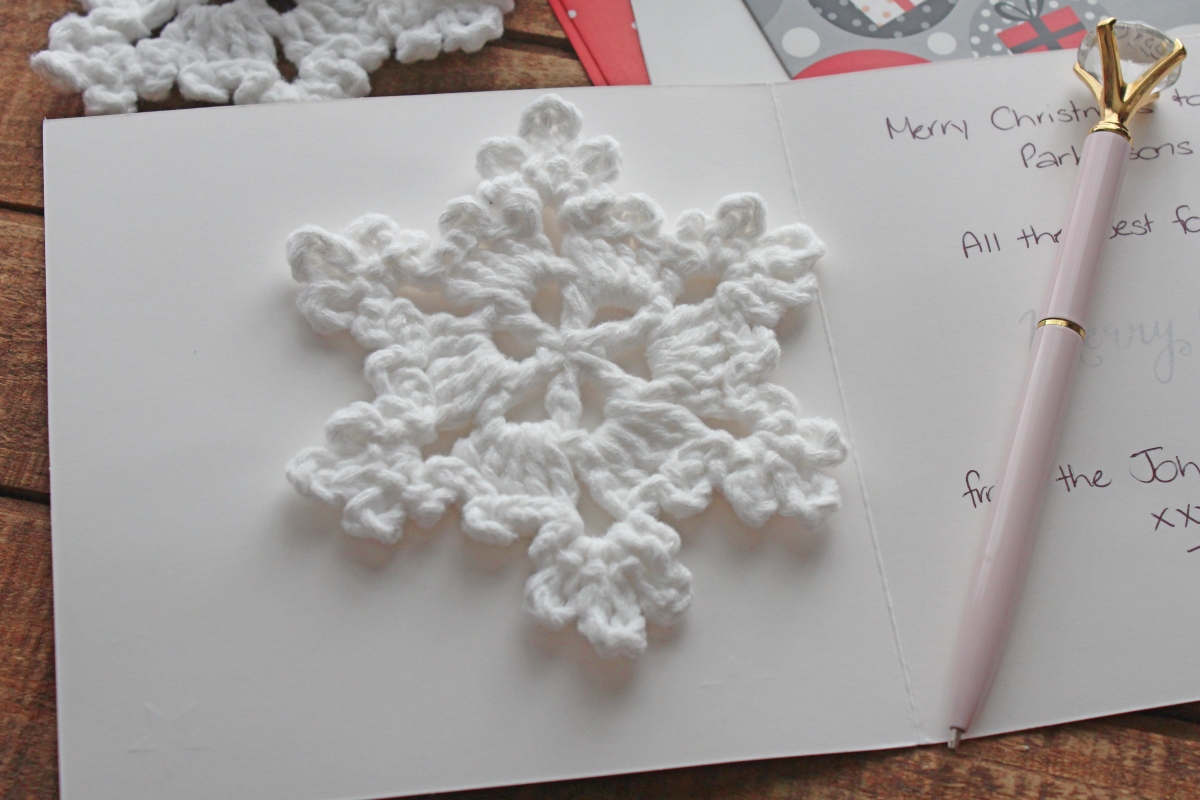
I'm going to add some hangers and include them to this year's Christmas Cards. They fit perfectly and they're not too bulky for postage.
They'll be a fun surprise for family and friends, and a sweet ornament they can add to their tree every year. They're super addictive, so I'm thinking I'll make the grandchildren a garland each for their bedrooms while my supplies are at hand.
I hope you enjoy crocheting Snowflake's for everyone.
PIN FOR LATER:

Happy Christmas Crocheting :)
.png)


The sweetest little star! Making stars to give with my christmas cards this year. THank you
ReplyDelete